Showing posts with label DIY. Show all posts

Friday, August 17, 2012

DIY- Pillows!!


The countdown of when I move back into my dorm has begun. I am putting the finishing touches on the items for my room. I really wanted some more pillows for my room, but the finding the right color was extremely difficult. Not to mention the fact that pillows are overpriced. Looking for a cheaper alternative I recovered a pair of old pillows.


I found these yellow vinyl pillows in my grandmother's basement. I wiped them off to get most of the dirt off.


Bought this ruffle fabric from Hobby Lobby for $10. It was a little over a yard which turned out to be more than enough. 


I laid the pillows on the fabric cutting the fabric. Leave a little extra room on both sides to make sure you have enough room.


Flip the fabric on the opposite side and begin to sew the sides together. Do this for two sides.

**I am not a pro at sewing and only used simple/beginner stitches.**


Use push-pins to help keep the fabric in place while sewing

On the last side, flip the fabric to the correct side. Slide the pillow into the pocket and sew the last side shut. 


The pillows really look professional/store bought. I believe the ruffles helped disguised the sewing. Be mindful of the type of fabric you buy if you are not the best seamstress. Overall, I am happy with my pillows. They are the exact shade of blue I am looking for (The closest thing I can compare to the color is the Tiffany & Co. blue boxes) and only cost me $10. Can't beat it!

**Now what to do with the leftover fabric....***    ;-)


Tuesday, August 7, 2012

DIY- Jewelry Board

I <3 Jewelry. 

I have so much jewelry that I wanted a cute and affordable way to store it. I noticed that if I cannot easily see or access my jewelry, clothing, shoes, purses...than I won't wear it. Last year, after browsing a couple of websites/youtube I decided to make a jewelry board. I am updating the color of my jewelry to match my new dorm room.

1) I picked up this cork board from Goodwill for a couple of dollars.


2) I found this really cool duct tape in Dollar Tree for only a dollar-of course.

3) Tape the border of the cork board.

4) This is actually an unnecessary step. I painted a Gloss Medium Varnish over the duct tape for a shiny look. I was also worried about the duct tape coming off since the tape is cheap. A substitute that can be used to further secure the duct tape is modge podge.


5) Use any scrapbook paper fo your choice. I used three sheets of glittery blue scrapbook paper.

6) Cut the paper laying it on the cork board.


7) Use push pins to secure the paper to the board. I opt for push pins instead of glue or painting the board in case you want to change the colors. The push pins also double as a hanger for your jewelry.


  8) Space the push pins around the board to display your jewelry!

This jewelry board is cute, functional, and cheap!


Monday, July 23, 2012

DIY- French Nail Tip

One of my biggest pet peeves are my nails. I will pick at them all day and nibble them to stubs. To keep myself from biting my nails I attempt to keep them "done". If I take the time and energy out of my day to do my nails I will not bite or pick at them allowing them to finally grow. French manicures are my favorite way to get my nails painted. However, I refuse to pay someone for a french manicure and it won't last. After much trial and error I have finally found the perfect combination of nail polish that is cheap and durable.


My favorite nail polish to use for a French Tip is only $1. It is the L.A. Art Deco nail polish that can be found at Dollar Tree/Family Dollar/Dollar General. It super cheap and doesn't chip as quickly as its name brand counterparts that I have tried.  The best thing about this nail polish is its super pointed/narrow brush.  In the past, I have tried tracers, stickers, and pencils. I found all these items time consuming and unnecessary. I would rather just free the french tip with this narrow brush. The more I practiced, the better I became.


After painting the french tip I always finish with a shiny top coat. Currently, I am using the Sally Hansen Complete Manicure. This was a gift from my little sister for Christmas. It is a good topcoat, but I probably won't be repurchasing the kit.


 I never worry about getting the nail polish on the skin around my fingers. Once it completely dries and you go about your everyday activities the nail polish will peel off in a couple of hours.


$1 French Manicure!

Saturday, June 30, 2012

DIY- Scarf/Necklace


I saw this really cool t-shirt scarf/necklace on pintrest and really wanted to make my own. The bad part about pintrest is its photos don't come with How To instructions so I learned as I went.

Supplies:
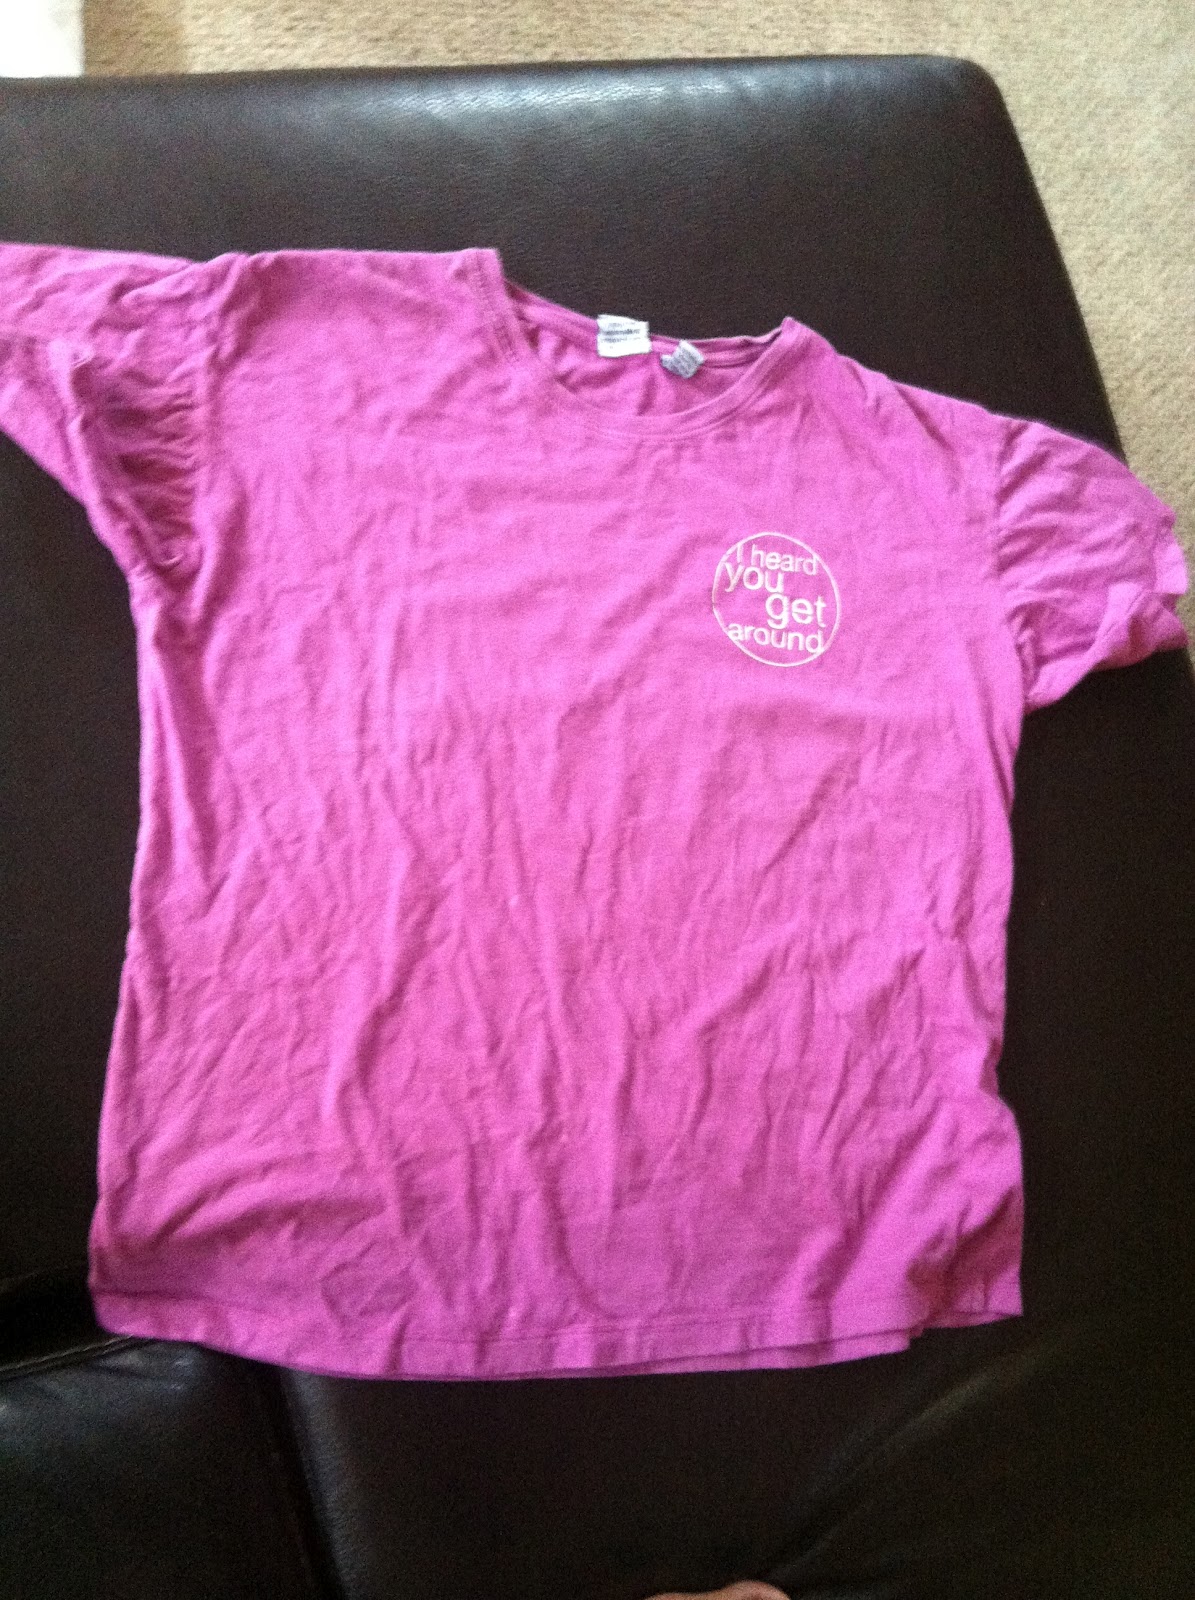
1) An old cotton t-shirt (can be used or new-nothing special)
2) A pair of scissors
3) A hot glue gun


1) Lay your old t-shirt flat. If your t-shirt has a design on it like mine I would suggest turning the shirt inside out. I did this at a later step.


2) Cut the t-shirt straight across from arm pit to arm pit. Save the remaining fabric for later.


3) Cut off the bottom hem. You may throw this away.


4) Position the shirt so that the two side hems are at the top and bottom. Start from the bottom hem and cut straight up towards the top. Stop near the top leaving about a 2 inch border. The strips can be as narrow or wide as you would like. I would suggest slightly pulling on the first strip when done to make sure it small enough to curl up, but wide enough so that it does not snap.


5) Slightly pull on each strand so that it stretches and curls up.

6) Cut the strands on the side from the top where the hem is. When you are finished you should be able to lay every strand flat and it should look like a hula skirt.


7) When I was done I had 18 strands. I created three groups and braided them together. 
**Tip: Do not twist the strands when braiding. Instead just place each strand on top of the other so your  finished braid is smooth. 


**Tip: If you are having difficult starting the braid cut a strip from the extra fabric and tie it around the top bunching together. Then Start braiding from there. I went back and did this step for a neater braid.


8) Taking one individual stand from the braid and wrap around the braid knotting it twice.


9) Measure the braid around your neck and determine how low you want fringe will fall. Knot the fabric at the appropriate the length. This will vary from individual and personal preference.

10) Cut two inches below the knot on the fringe. Hot glue the fringe to the top of the braid.


11) Use the excess fringe and lay over top of the existing fringe. Fan it out and try it on to create a layered effect.  Tie two knots on either side of the fringe. Cut the excess fringe off.


12) Go back to the remaining fabric from the shoulders. Cut the fabric into wide individual strips then stretch the fabric.

13) Cut one end of the fabric so that it lays flat.

14) Wrap the wide strips around the necklace where the braid and fringe meet. As you wrap add little dots of hot glue to the back side of the necklace.

And your done! 
Let me know if there are any steps unclear. Feel free to do what works for you and create your own variations. Send me the results I would love to see!

Tuesday, June 26, 2012

DIY: Cut-off Shorts

Before
While helping my grandmother clean out her closet I came across a pair of really cool, high-waisted pants. Not only did they fit perfectly, but the corduroy texture was so unique. Taking a quick break from helping, I quickly snatched these out of the donation bag for my new DIY project idea.


Look at that pattern!
This DIY is super easy and does not require a lot of skill or supplies.
You simple need 1) a pair of scissors 2) a marker and 3) a pair of old high waisted pants.


1) Turn the pants inside out trying them on.
2) Using the marker, mark where to cut the pants to determine the length of the shorts.
**Tip: It's easier to cut later then it is to add fabric.**

I changed my mind three times about the length of shorts, hence the three lines.


3) Fold the pants in half and cut across in a straight line.


**Tip: Cutting both legs at the same time ensures that both legs will be an even length.**

4) Roll the edges of the shorts once or twice to create a hem.
5) Iron the hem lightly for a crisp line...


After


And your finished! A new pair of high-waisted shorts without any sewing and for free. Since my shorts are made out of corduroy (which is not a typical summer material) I will probably save them for the fall/winter. Perhaps, rock them with a pair of tights and some booties like in the picture below.


Source